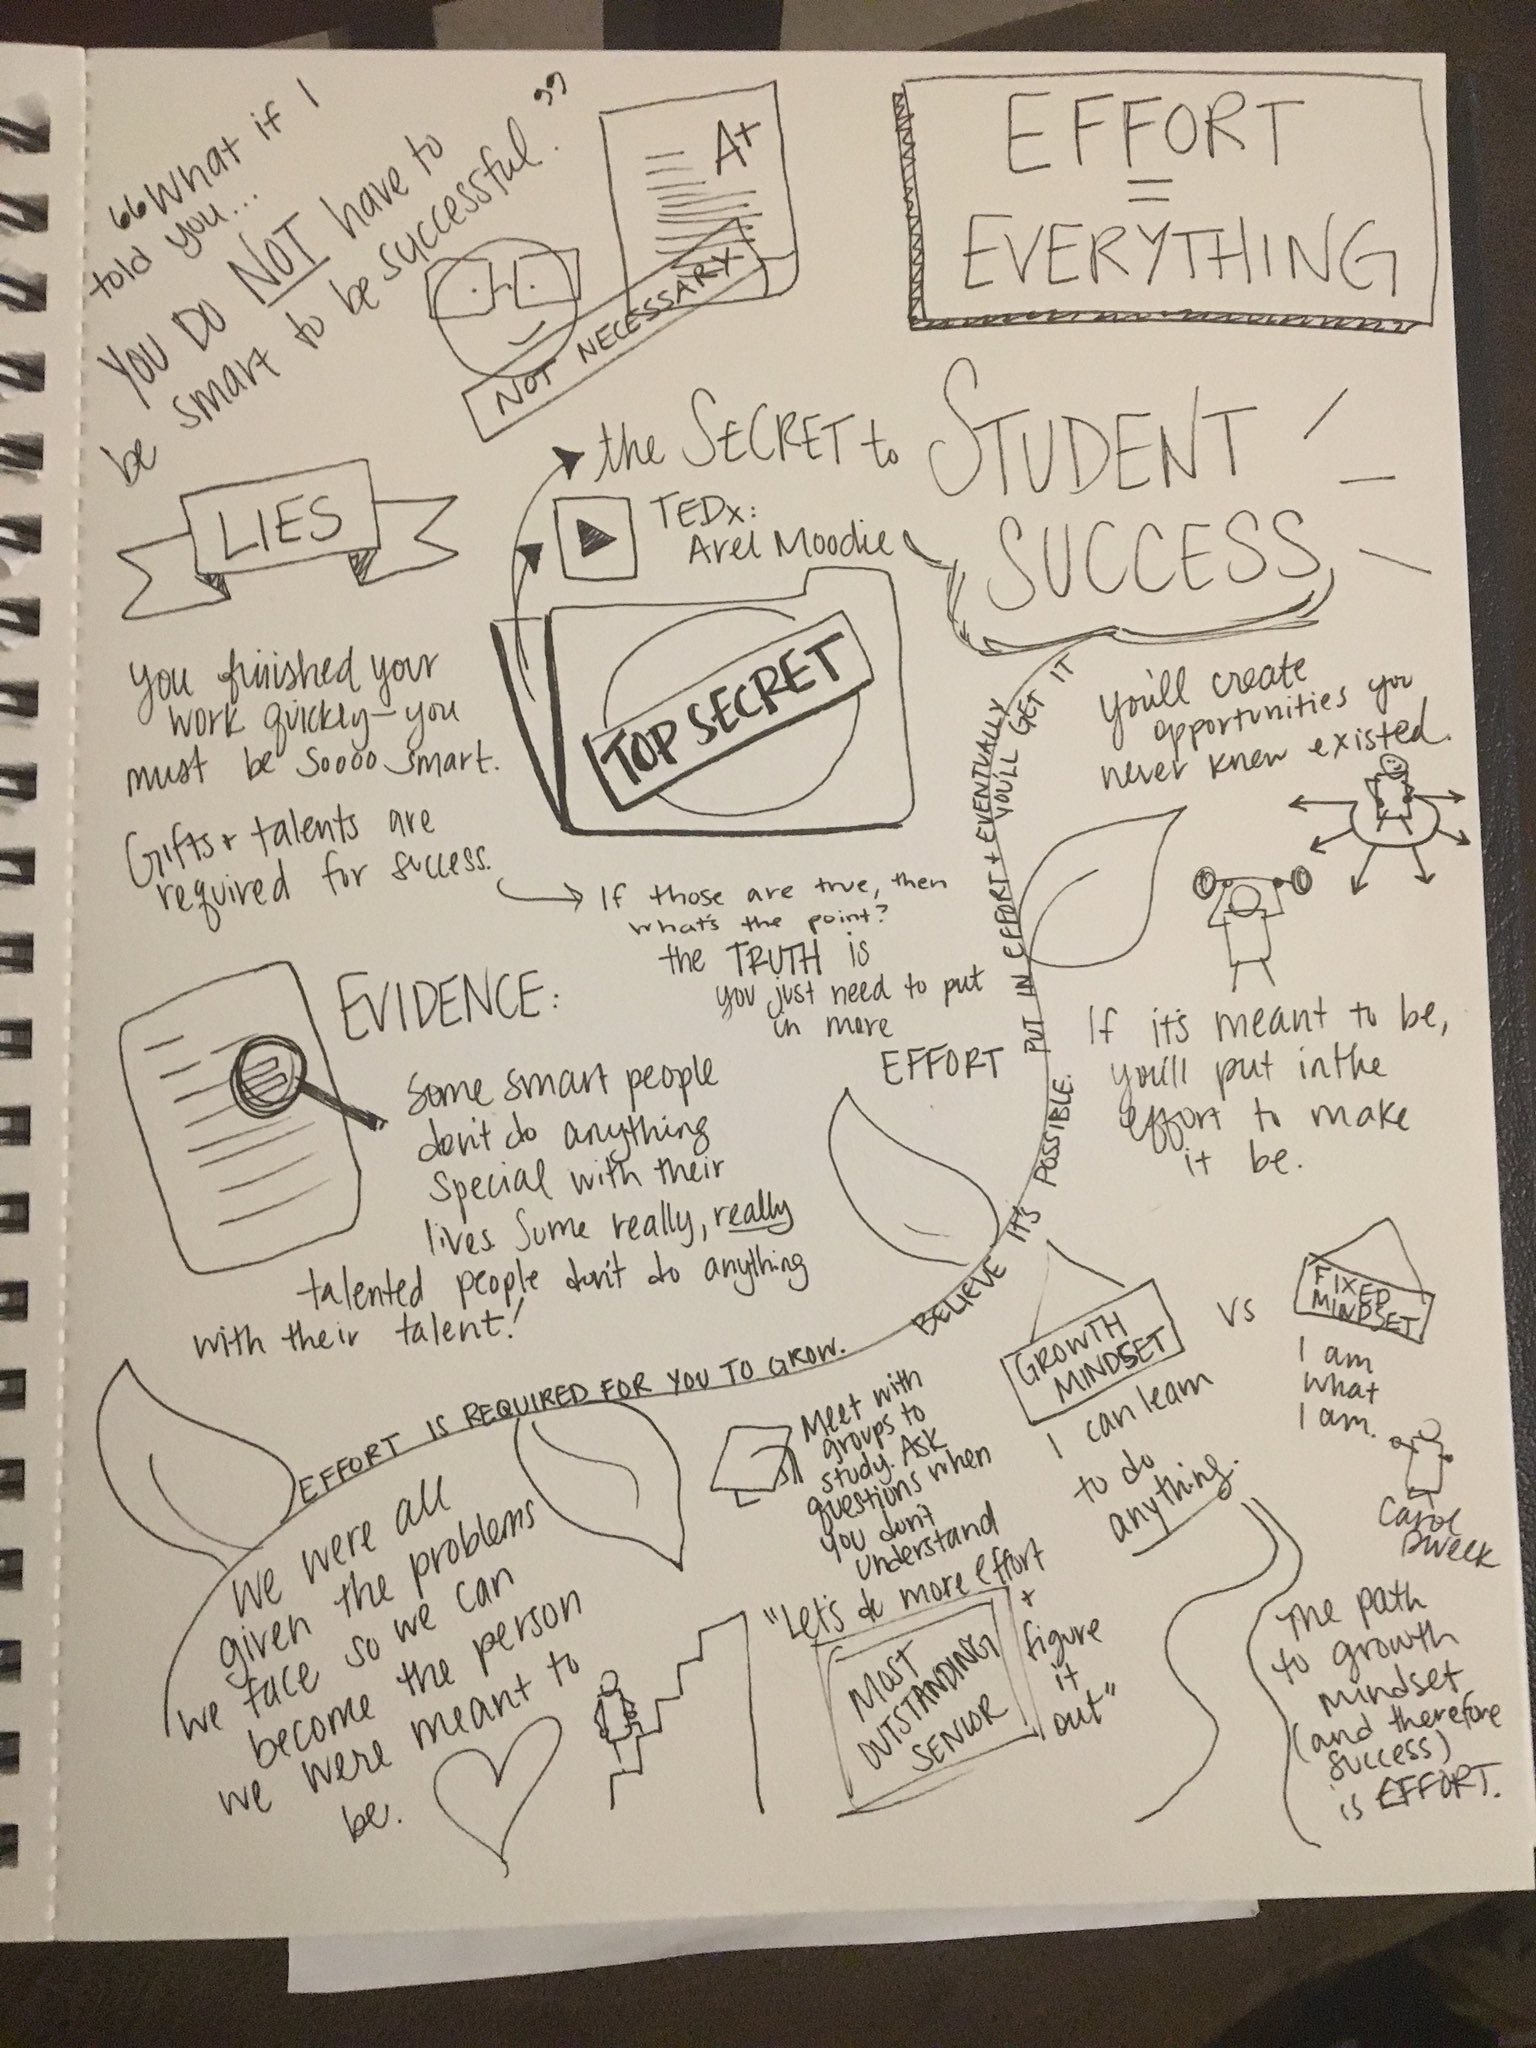
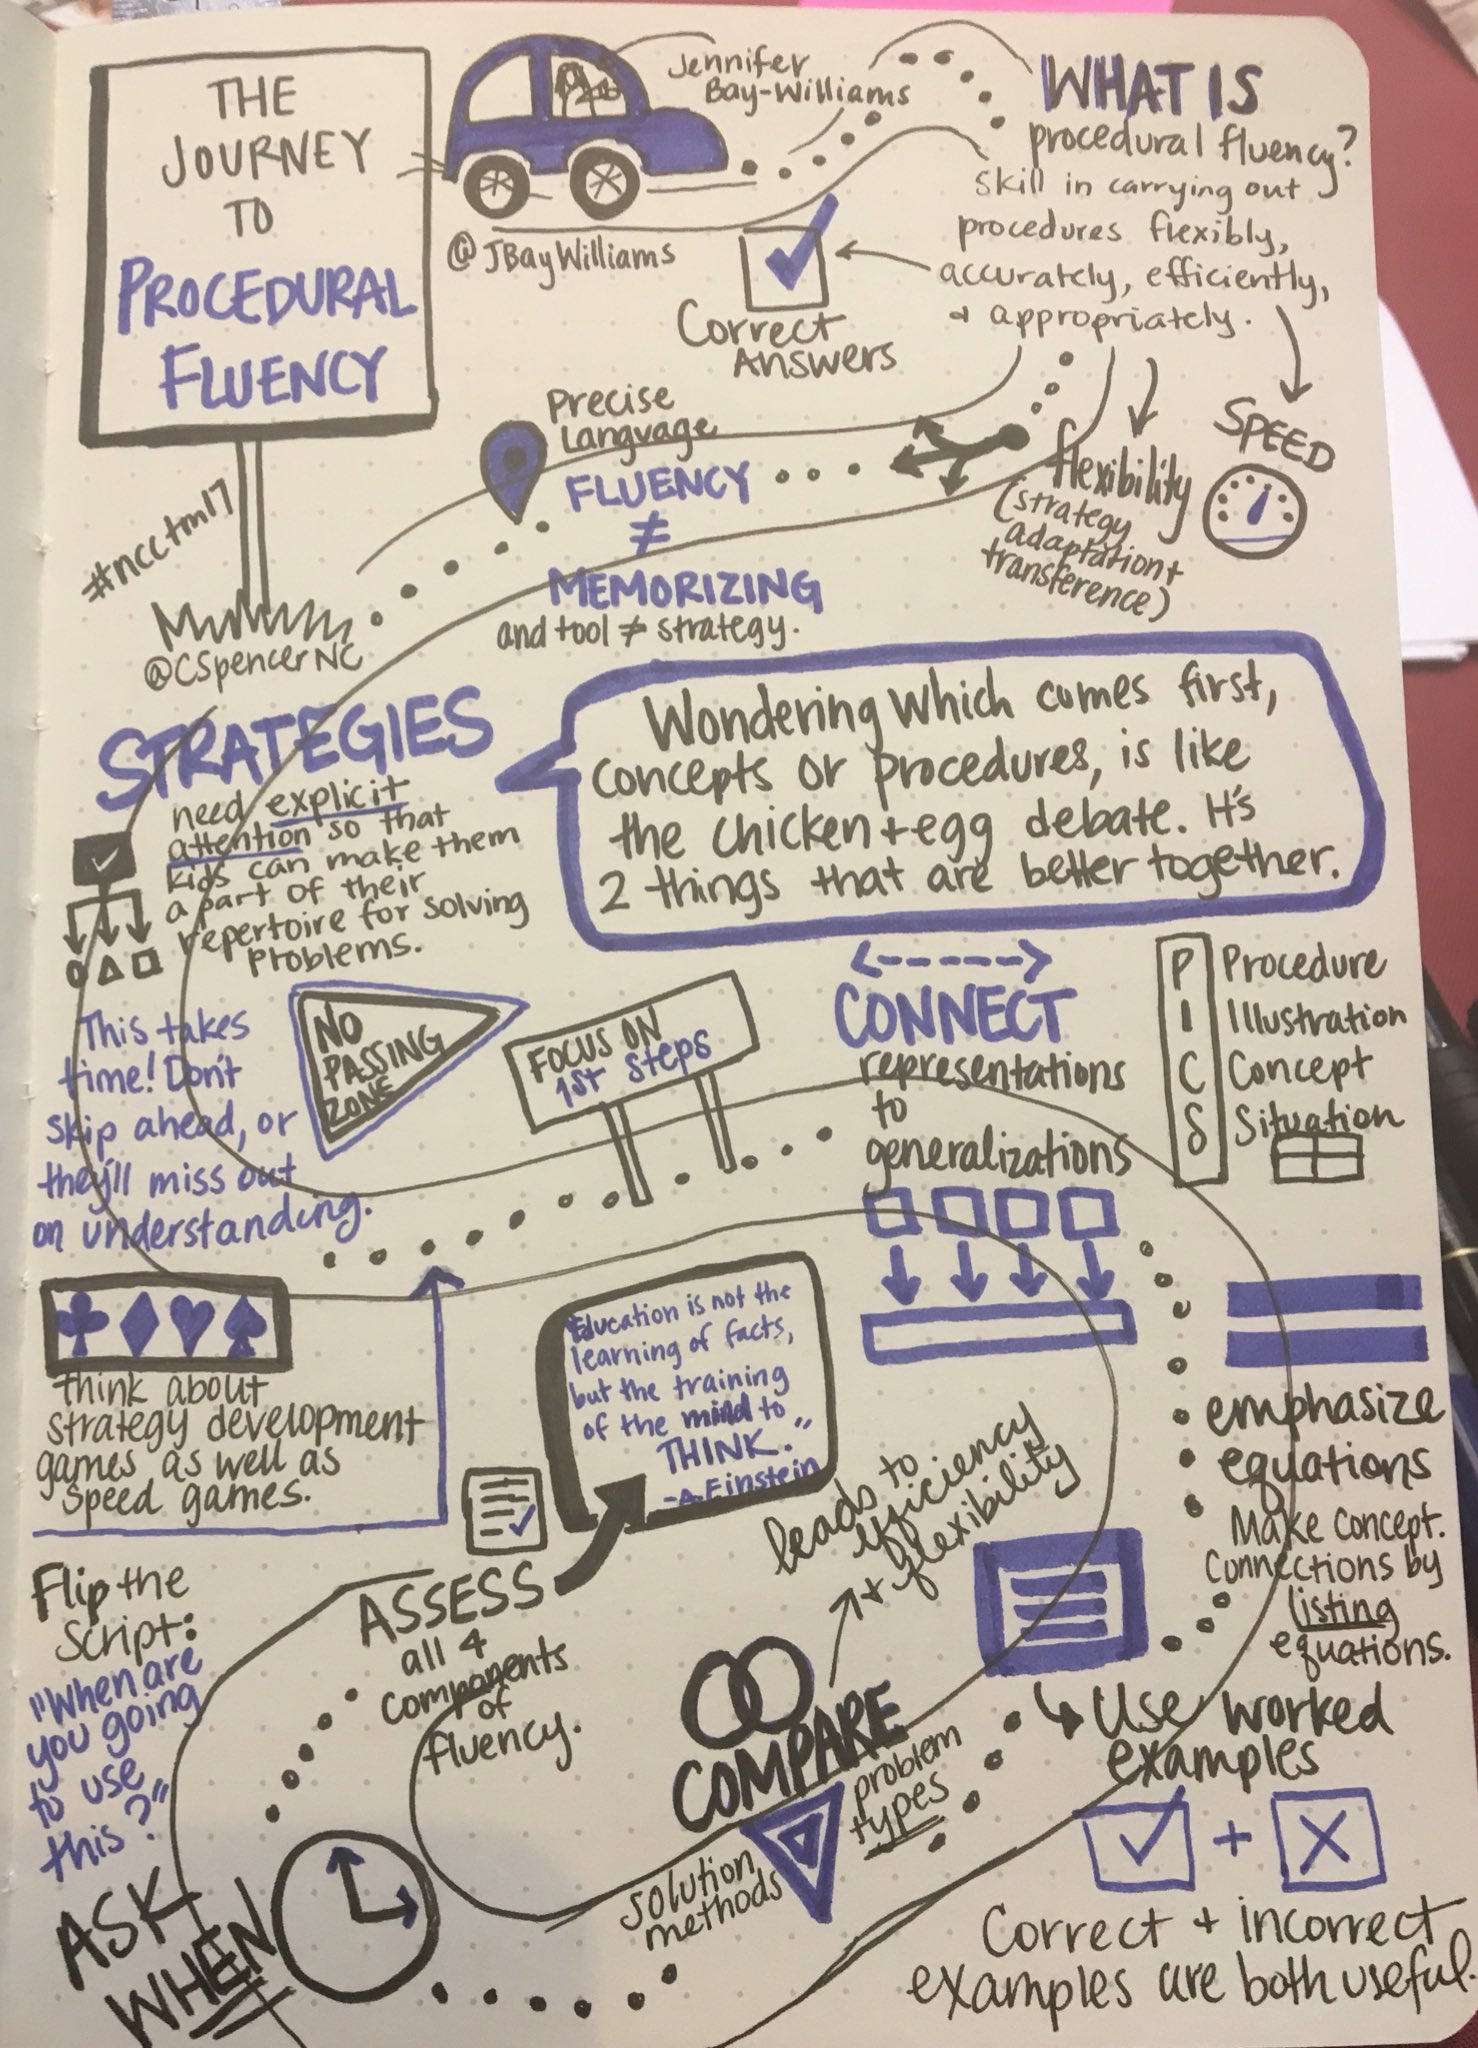
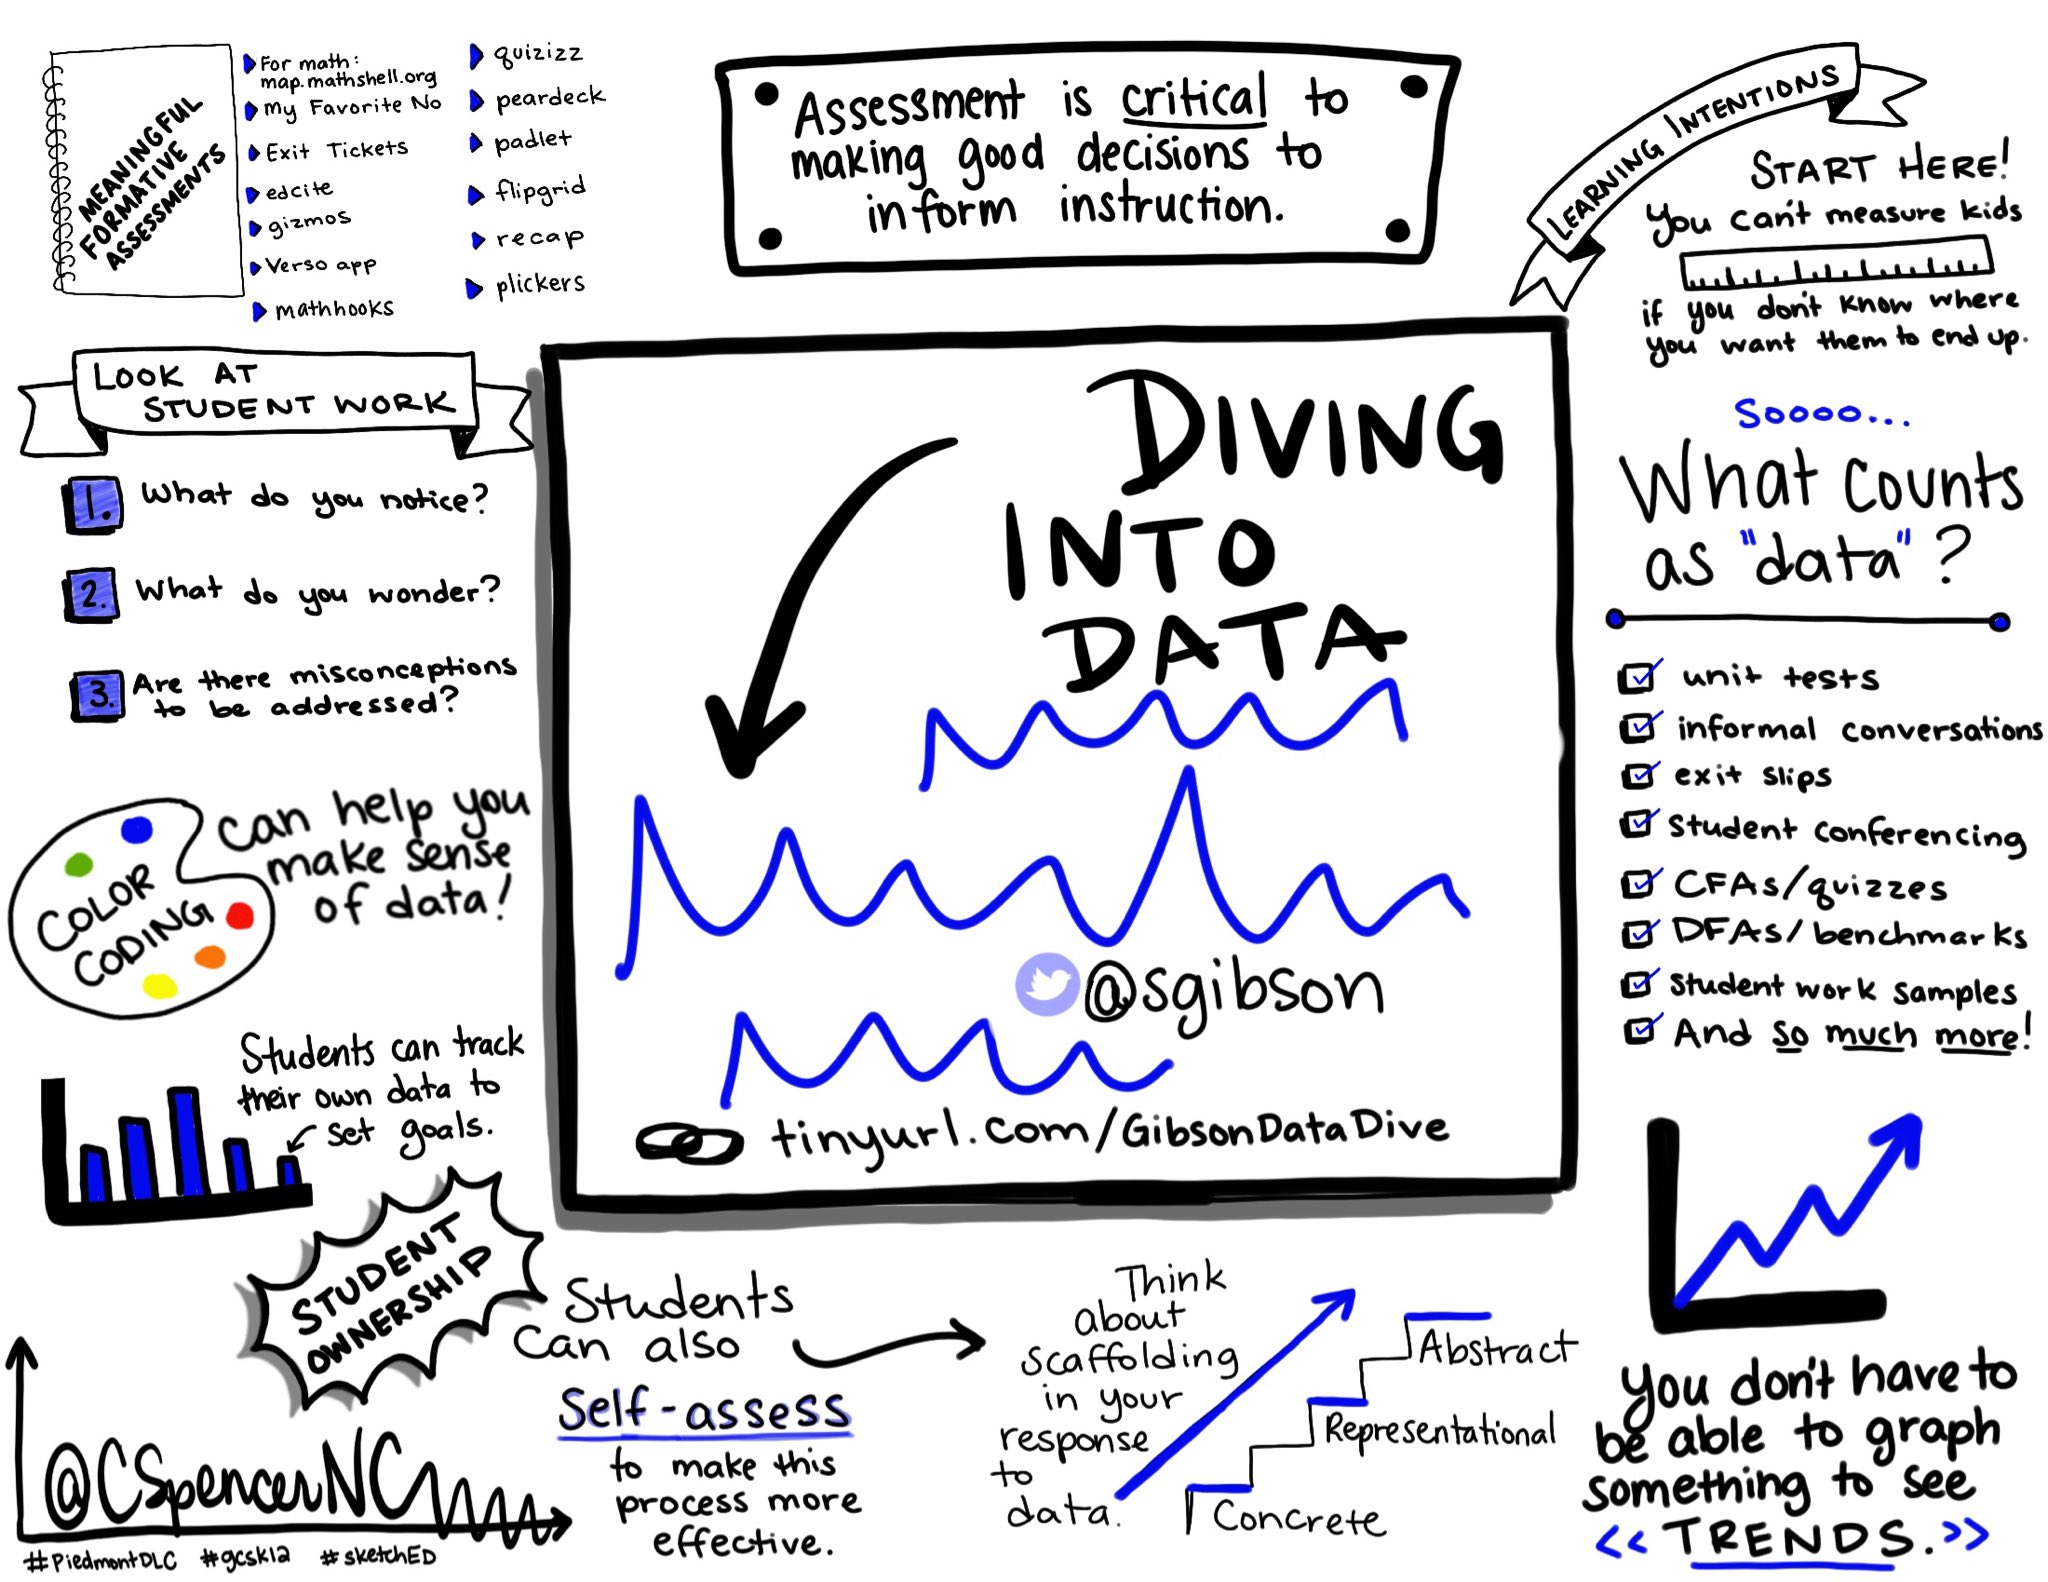
Showing posts with label differentiation. Show all posts

Thursday, April 4, 2019

Sketchnoting Resources, Challenges, and Tips

Sketchnoting: visual notes where ideas are conveyed through words, pictures, and visual elements

One of the things I love to do personally and with students is sketchnoting. I realized that while I've been great about sharing my sketchnoting journey, samples, and resources on Twitter, I really hadn't taken the time to make a post here, so it's time to fix that!


In July 2017, I had the chance to attend a workshop with Silvia Tolisano (@langwitches) on sketchnoting. While I'd heard the term, I only had a vague idea of what sketchnoting might look like. Silvia spoke of documenting learning, making thinking visible, and building connections through notetaking, and I was hooked. Here's my very first sketchnote from that workshop:
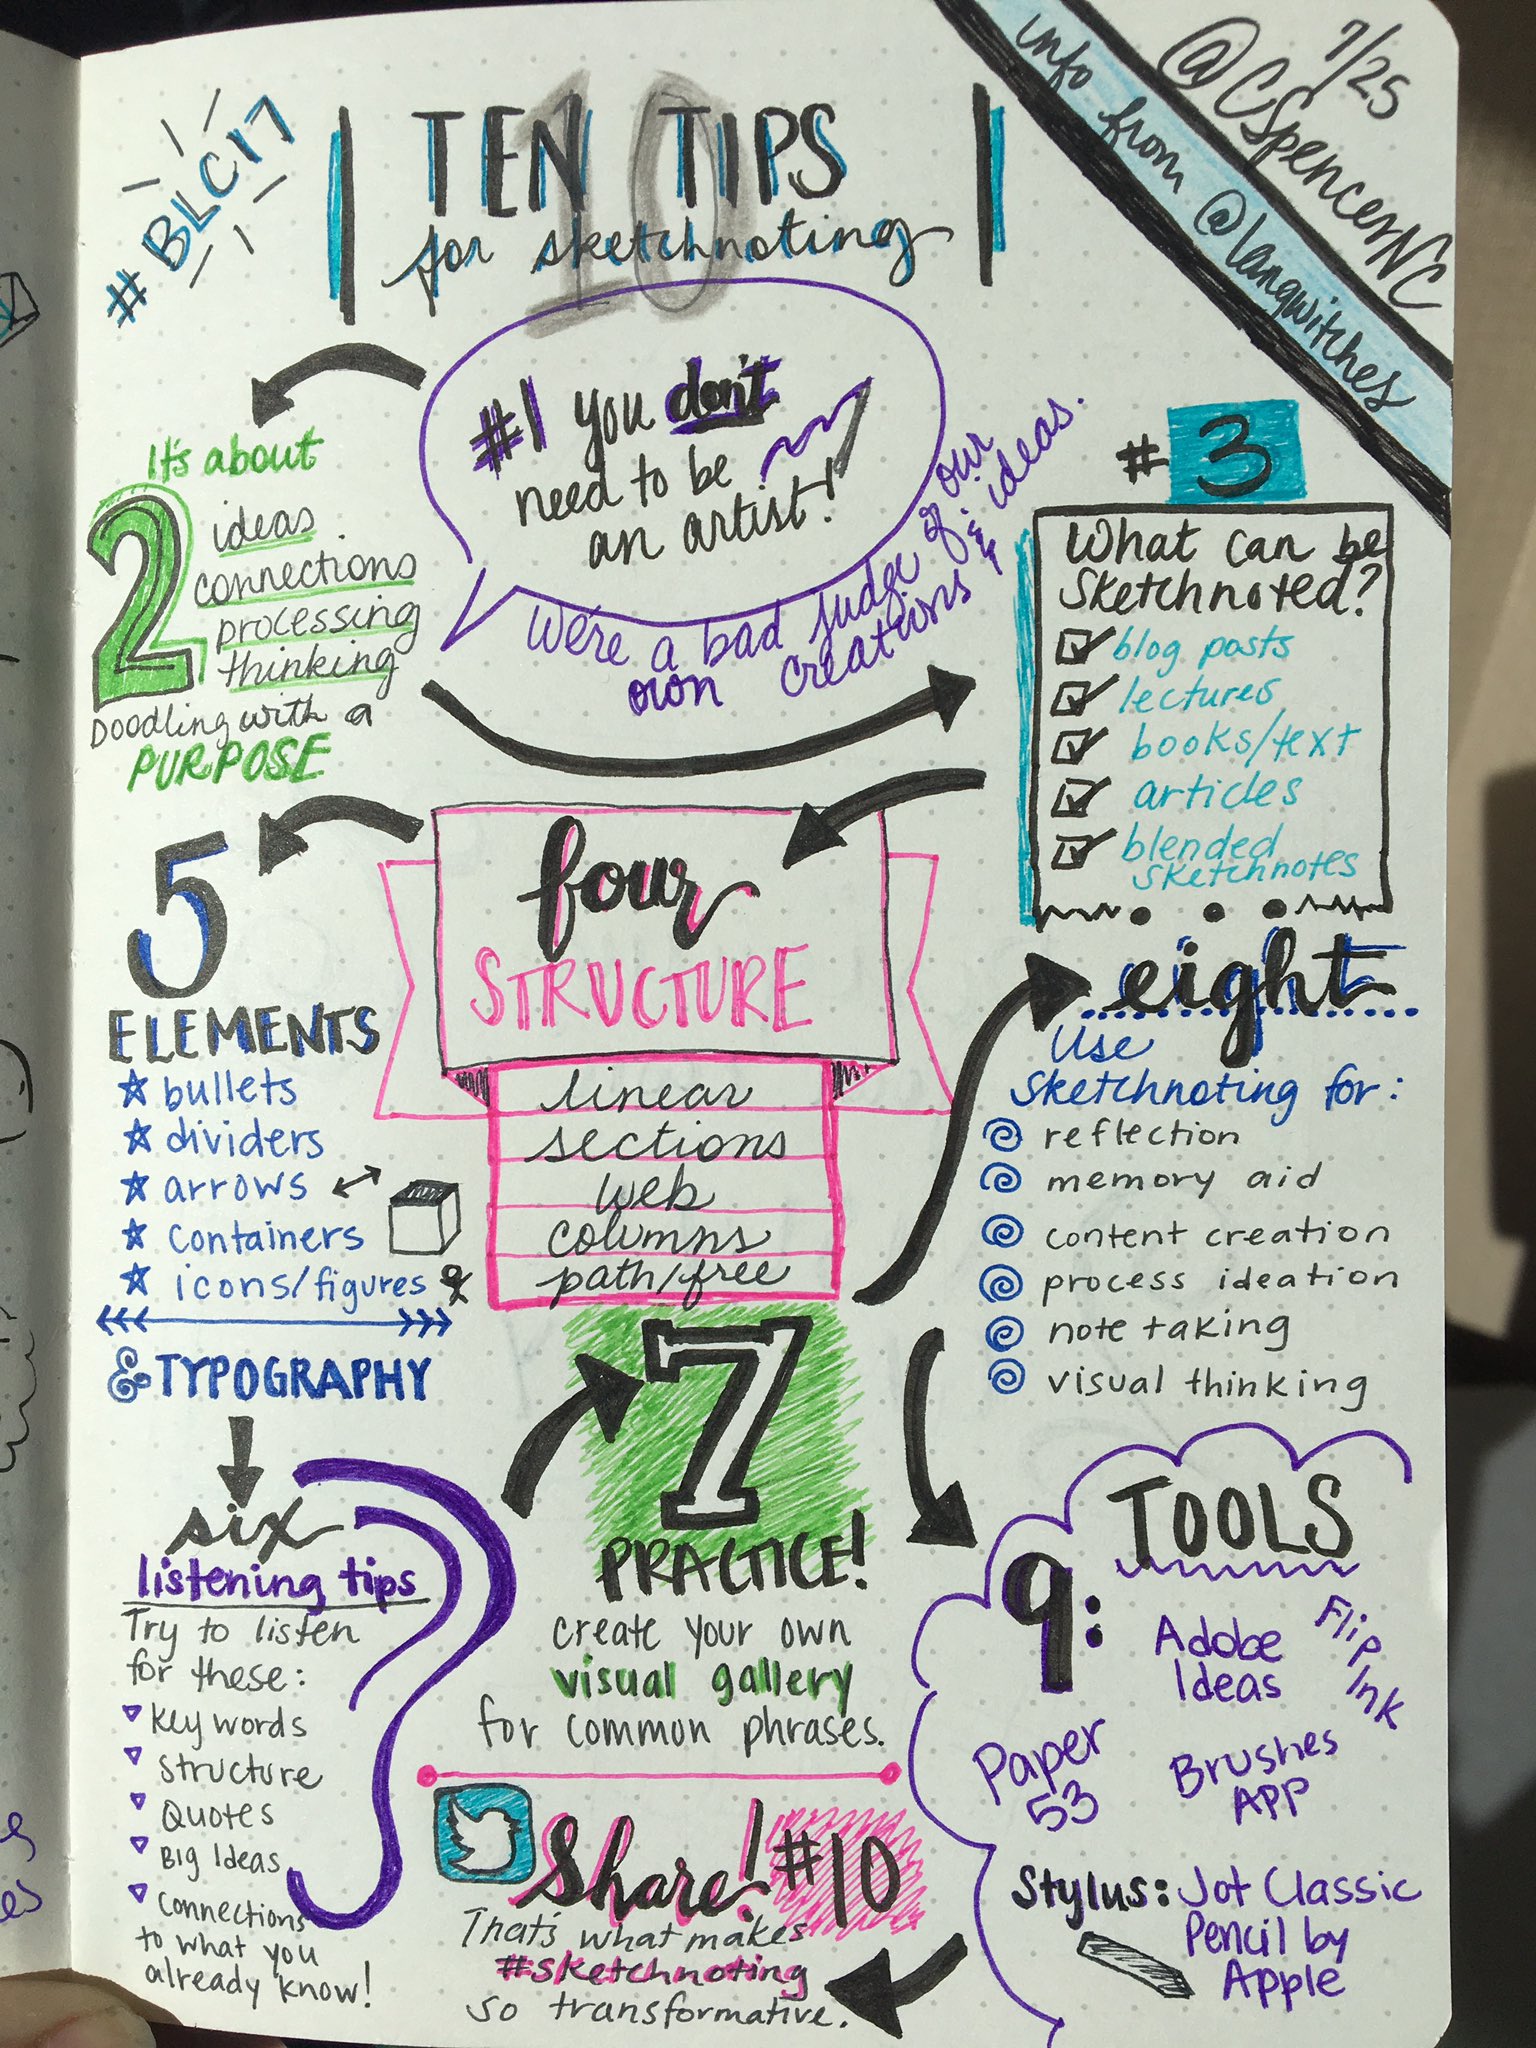

And let me tell you, I was STRESSED the whole way through making it. I wanted to use all of my pretty supplies, I wanted it to be perfect, and I was TERRIFIED of sharing it on Twitter. Since then, I've sketchnoted nearly every conference session, presentation, PD, and keynote I've attended. I've used sketchnoting with students across so many grade levels, and presented on sketchnoting over and over again. 

This technique that I once believed was so much about artwork and perfection...I've come to love it now that I know it's SOOOO not about those things. 


I love that sketchnoting is personalized, flexible, and fun! It lets you show connections and distinctions between different ideas, or rank things based on importance, or separate common content into small groups of information. 

Along the way, I stopped trying to use all of the markers at once:


Tried digital sketchnoting...(on an iPad Pro in ProCreate) 



...then promptly went back to paper 😂

And along with a few friends here in my district (especially the amazing @MrsYav), started up a sketchnoting Twitter account to help teachers use sketchnoting in their classrooms and encourage students along the way. It's @SketchnotEDU, and we also have a website where we store our PD materials (bit.ly/sketchnotEDU). 


The Twitter posts aren't as frequent as I'd like, but we do have some prompts and challenges dating back to early 2018. Some of my favorites were the skill challenges, and these remain my #1 tip for teachers trying to support student sketchnoting. 

Each week, pick a skill to work on and to incorporate into your notes. Consider its purpose - what it ADDS to the functionality or organization of the final set of notes, and use that function to guide your decisions of when to use it. 


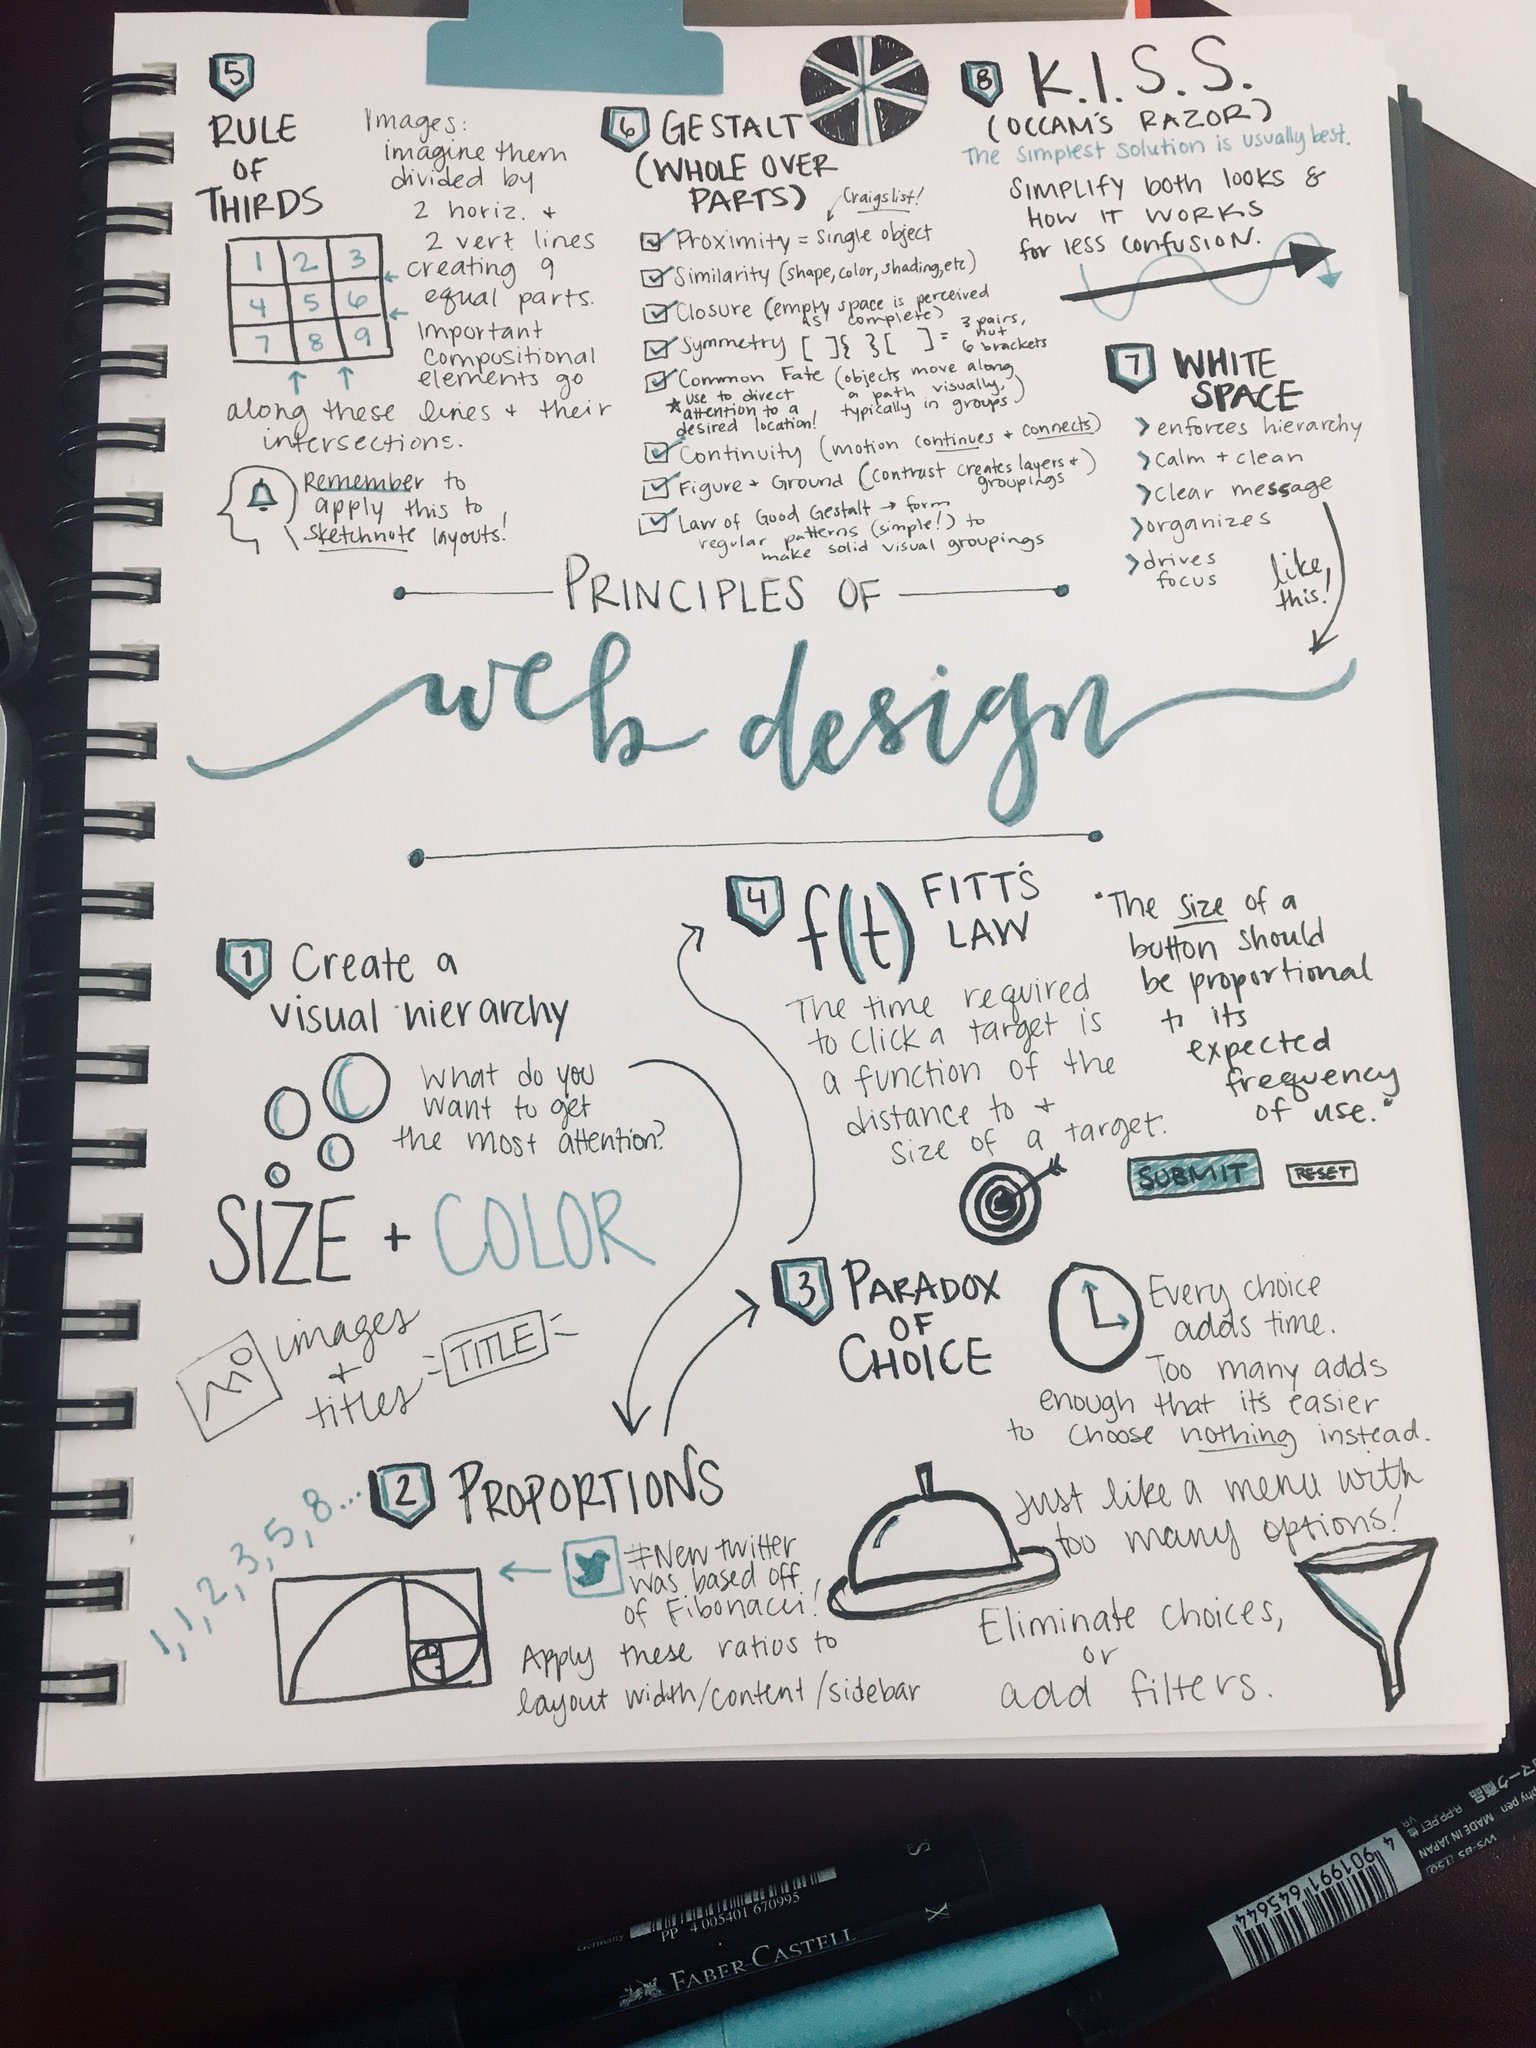
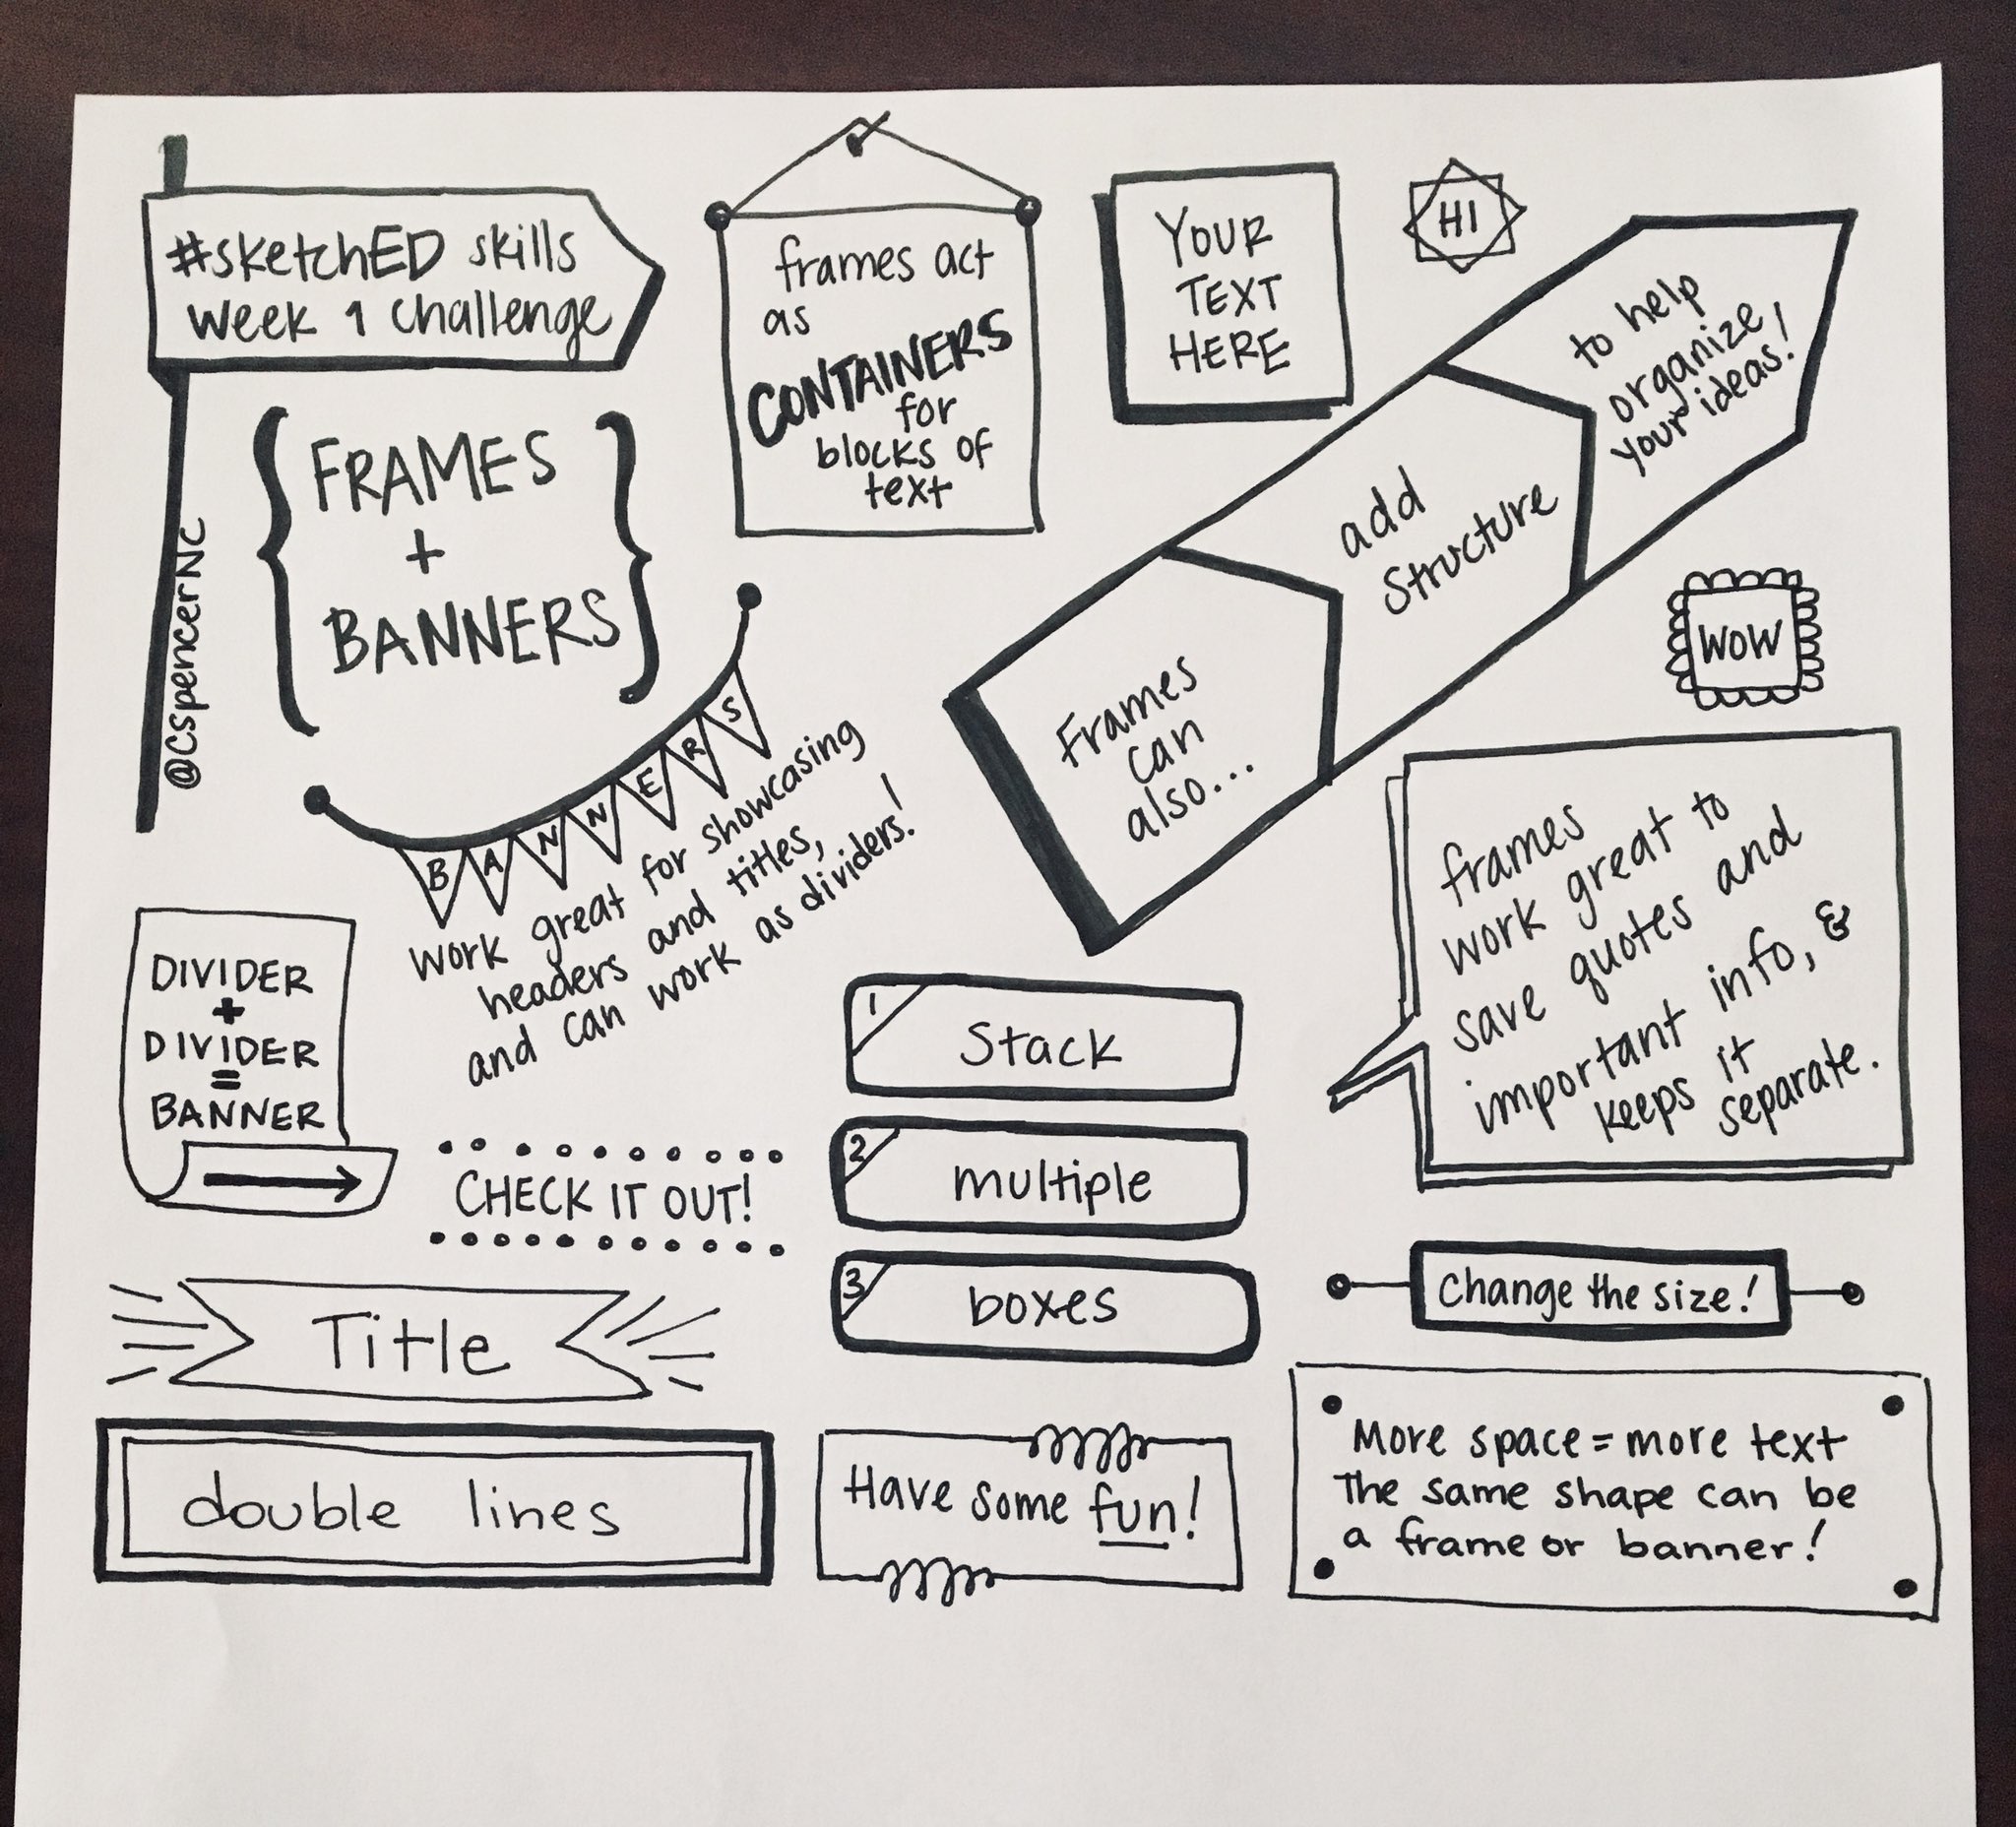
These skills can be specific to sketchnoting, or can still be used with improving students' ability to take notes more traditionally. There's so much value in thinking about WHY bullet lists are useful, or why we might use arrows to connect topics or demonstrate order. Some of the skills challenges we posted on @SketchnotEDU included:

Banners and Frames

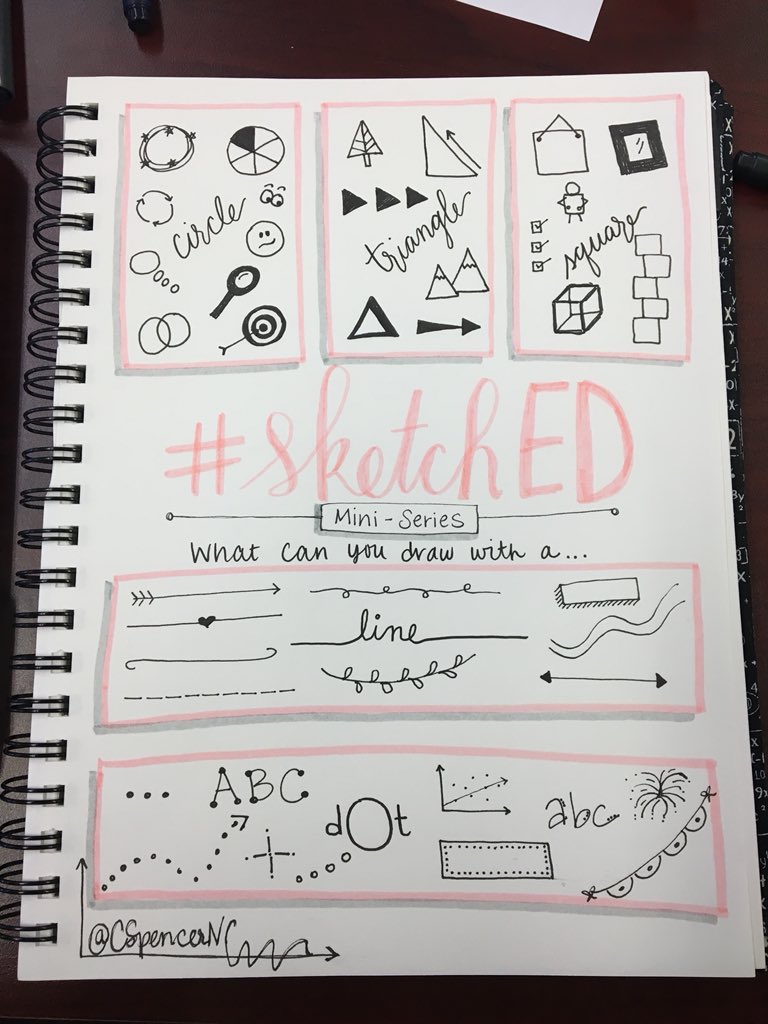
And the what-can-you-draw-with-just-lines-circles-triangles-dots-and-rectangles challenge!

There is so much research to support sketchnoting over outlining or traditional notes. I think my favorite thing though is that sketchnotes end up looking quite different for each student, which allows so many opportunities to share, compare, and discuss. 

One final tip, and I'll save the rest for future posts. This is actually for the same reason that I switched back to paper after trying digital sketchnoting, in addition to the fact that research supports paper notetaking over digital notetaking. 

USE PENS. OR MARKERS. DO NOT USE PENCIL. 


While sketchnoting, it's best if we all just forget that pencils exist for a little bit. The problem with pencils is that you've got the option to erase, fix, redo, and repeat. Mistakes are a part of math, a part of learning, and a part of sketchnotes. Sometimes you can turn them into a happy little bird, sometimes you just move on. But using pens or markers instead of pencils will make it so much easier to accept what ends up on the paper, and let go of trying to make everything perfect. 

Thursday, December 1, 2016

Promoting Productive Struggle & Implementing Formative Assessment Lessons

We had an amazing meeting yesterday with our district's Math Design Collaborative yesterday for training on implementing FALs. One of the resources we went through was this article of 8 Teaching Habits that Block Productive Struggle in Math Students. It's kind of a what-not-to-do guide to teaching math. I also like that they paired it with this infographic poster of what to do instead. 


Our district is involved in a 3-year initiative with SREB, and I really couldn't possibly be more excited about this. Our best teachers have been selected (2 per school) to participate. We have teachers from every grade level 6-12, and from all types of schools. (Even our alternative school is participating!!)

During year 1, we have 8 days together as a group, and yesterday was Day 5. PD focuses on how to implement Formative Assessment Lessons (FALs), which are housed at map.mathshell.org. 


Now, when I was in the classroom, I was aware of this website, but hadn't implemented any of the lessons in their entirety. (To be REALLY REALLY honest, I had just stolen a few tasks and card sorts, and not used anything else.)

I had NO IDEA that all of the resources on this website are research based and are most effective (by far!) as complete lessons. 

Here's the basic idea, but you'll really get a better picture by reading through one of the scripted lessons. 

  • FALs are separated into 2 categories:
    • Concept Development (named based on content)
    • Problem Solving (name based on context)
  • Concept Development FALs are meant to be used one-half to two-thirds of the way through a unit. The goal is to figure out what kids know, what they don't know, and then use that to guide instruction (both through the remaining part of the unit, and to change how you teach that content next year). Sometimes these FALs also work at the beginning of a unit to review prerequisite content and guide the transition into new content. 
  • Problem Solving FALs can be used any time during a unit, and are structured around really great problems with plenty of arguing potential. ;)

Here's the basic process to go through a FAL (I'll use a concept development FAL as an example, because so far it's the one I've worked with the most)

The day before the FAL: 
  • Give the pre-assessment as an exit slip.
  • That afternoon, sort the pre-assessments into 1,2, & 3 point piles (1 - little to no understanding, 2 - demonstrates some understanding, 3 - demonstrates understanding). Then use these piles to create homogeneous pairs of students (so the top 2 kids are paired together, then the next highest 2, etc). This isn't a formal grading process. 
  • Once pairs are developed, and while the results on the pre-assessment are fresh in your mind, choose (or create) some feedback questions from the script. They should be based on the major misconceptions, obstacles, or gaps in learning you observed on the pre-assessments. 
  • Make sure you have all materials & cards prepped and ready.
Day of the FAL:
  • Follow the lesson script through the whole class intro, collaborative activity, sharing & whole class discussion, and then administer the post-assessment. 
    • Whole class intro: usually involves white boards and some powerpoint slides. During this portion, you're just reminding kids of the work they did on the pre-assessment, and not "teaching." Just ask them some guiding questions to get them to notice differences in each other's responses. 
    • Collaborative activity: when students work on activity (usually a card sort) in the pairs you designed based on their pre-assessment. Just give the time allotted in the script, and let go of the idea of completion. Just let each pair get as far as they can in the time given. During this time, project the feedback questions developed the day before.
    • Sharing/Whole Class Discussion: usually involves some time to combine/change groups and compare answers, then a return to the whiteboards to discuss as a class. 
    • Post-assessment is "graded" (but not really) the same way that the pre-assessment was, so that you can measure growth for each class.
My personal favorite FAL? Right now, it's Generating Polynomials from Patterns. 
Students use dot patterns to develop polynomial expressions for the white, black, and total dot patterns and WOW do they have to do some serious work with this one! It seriously challenges the advanced kiddos without being inaccessible for lower-achieving students.

Second runner up is Applying Properties of Exponents. I had a huge "AHA" moment with this one. How many times, when we're teaching laws of exponents, do we pretend like addition and subtraction of terms just cease to exist for a week or two? I'm definitely guilty. Here are the first few cards from this FAL so you can see what I'm talking about:


But if we choose not to shy away from types of problems that aren't immediately simplified using one application of one exponent property, our students are all the better for it. And this FAL does a phenomenal job of facing those obstacles, misconceptions, and gaps in learning square in the face.

Each of the FALs is designed to promote productive struggle in students. Each one is also designed to promote valuable, serious mathematical discourse. And that's something we should all strive to include more of in our classrooms.

And don't forget about the What-Not-To-Do and What-To-Do-Instead for Promoting Productive Struggle that I mentioned in the beginning of the post from the MIND Research Institute blog! 


Friday, September 23, 2016

Content Literacy in Secondary Math

Wow - this blog's gotten a bit dusty. But here I am. Let's just pretend it's been 5 minutes instead of ... too long. 

I've been asked to work with a small group of teachers regarding content literacy strategies. We'll be meeting in groups of around 7 teachers (all math and science) during their planning periods. The school's improvement goal this year is to improve student performance on the ACT and English 2 state exam. The idea is to support that goal through implementation of some new strategies & some serious changes in expectations for reading and writing across the various content areas. 

I'll admit, I haven't done much work on this subject in math, but I'm excited to learn some new techniques and get to researching! Obviously, if we want students to have meaningful discourse and justify their thinking, we need to promote academic language and writing in our math classrooms.

Of course, my first thought was to check the TMC and GMD archives, but I didn't find very much. If you know of something I missed, please comment below!!

One of the articles I found listed 10 ways Literacy Can Promote a Deeper Understanding of Math.  I found it interesting that most of the items listed are things we do naturally in math class, but that it's important to formalize verbal explanations on paper. I thought a great "baby step" was to take discussions and put them online, which encourages students to write, edit, and read other responses. 

I also reached out to our county's SIOP & Differentiation coach. She does a training every semester on specific strategies for math to help our EL students. She has some incredible resources - check out her blog and resource site!

A couple of my favorite resources from her site are the Glossary of Strategies & Activities and the Bloom's Question Stems for ELs.  These resources are meant to support EL students, but the idea is that they're necessary for ELs, and beneficial for all students. I think so many times, it's easy to forget about this population within our schools. However, I'm trying to remember that ELs represent a microcosm of our larger student population when it comes to struggles with literacy and academic vocabulary. 

Link up any math content literacy resources/articles/etc you've got below! 

Saturday, February 28, 2015

BINGO 2.0 (Nearpod App-Smash)

I had a moment during 1st period today, where I realized how different my classroom is from when I started teaching. (Yes, we were at school for a half day on a Saturday, for a snow make-up day)

My plan was to play bingo with my Math 2 students, who are working on simplifying radicals today. We also had the Ipad cart checked out, which I had intended to use for a quick Google Classroom update. Instead, the Ipads ended up being exactly the thing that took this activity to the next level. 

Whenever we play bingo in my classroom, I print out a Kuta (or similar test bank) worksheet with questions and an answer page. Usually, I print out 1 copy with 40-50 questions. I put the answer sheet under the document camera, and students copy random answers into squares on a blank bingo card. 

Quick ideas/suggestions for a last minute bingo game:
  • Any worksheet with an answer key works - just copy the answers onto the board for the students to choose from. 
  • Quick, repetitive type questions work best, such as complex number operations, simplifying expressions of any kind, or switching forms of linear or quadratic equations. (I'll be repeating this activity Monday with Math 3 for completing the square)
  • Students can use a blank template if you have time/resources to copy one for each student. I usually have 1 class set, which we put inside sleeve protectors and use as dry erase boards. Students write on the cards with either pencils/dry erase markers. 
  • Bingo chip ideas: I use foam sheets from the dollar store that I cut into 1-inch pieces several years ago. I've also used the small glass vase-fillers from the dollar store, although they make much more noise. On the few occasions that students have their own copy of the bingo template to write on, they've used markers to mark their squares. 
But here's how it changed today. We used the Nearpod app's "Draw It" feature. That meant that each time I called out a question, they showed their work and sent it to me! Each question, I had a student sample that I could scroll through, so that we could talk about any mistakes or misconceptions along the way. Below is a screen shot of the teacher's view from the app.


Nearpod has this great "share" feature after using the Draw It slides. It allows you to send the picture of any student's work, without their name, to every other student. This is such a game changer. They can see their peers' work, and discuss it without the pressure of going to the board. This is a view of what the teacher sees from the app, with the blue "Share" button in the top corner of each response. 


My students also figured out that they could take a picture of the projected question, import it into Nearpod, and then complete the work over the image.  Some choose to write the question out, as shown above.

When we review homework, this feature means they're able to snap a pic of their work from their homework page, then send it to me, without having to rewrite anything. Then we look over several responses together, and sort out any confusion. This is a great time saver, and it's definitely an app I hope to find more uses for in the future. 

Friday, October 17, 2014

Daily Quizzes - An Easy Way to Start a (kind-of) SBG System & Provide Classroom Incentives

I want to share the biggest change I've made to my classroom this year: Daily Quizzes. 
This is the brain child of one of my amazing colleagues. Last year, he did 6 question exit tickets as a homework replacement. YES. A math teacher that assigned NO HOMEWORK. 

Well, I wasn't quite ready to take that leap. However, I did like the idea of having plenty of skill-based data reports, and tying it to an incentive. So we decided as a PLC to compromise. DQs emerged from that compromise. Here's how it works.

Each day, after notes, students have around 15 minutes to start their homework. (We have 90 minute blocks.) After that initial practice time, I project a 6 question quiz on the board (My PLC creates these together ahead of time). 
Students are allowed to use their notes. Once they're finished, they bring it up to me, and I grade it immediately (It takes less than 15 seconds per quiz. I use open ended questions, and there's no partial credit. Each is right or wrong, and I spend no time at that point looking through work or evaluating mistakes.) I record their score, tell them, and keep the card (which helps keep the answers from traveling around the room). Here's a picture of my recording sheet:

The topics are along the top, and scores range from 0-6. I do give half credit VERY rarely for students that made arithmetic errors, or for answers not in best form (such as answers with negative exponents). I color code the scores at the end of a unit, on the morning of the review day. This helps me remember where our weaknesses were throughout the unit. 


0-1 are red
2 is pink
3 is orange
4 is yellow
5-6 are green
Absent is blue - I don't typically require students to make these up.

You can see the clear difference in my honors classes (above) and my regular class (below).


Another difference between honors and regular classes is the number of questions, and incentive attached. Honors classes get 5 question DQs, and students that score a perfect 5 are permitted to complete every other homework problem that's assigned that day. Regular classes get 6 questions, and students that score a 5 or 6 get to only do half the problems. 

This homework incentive has been FANTASTIC. Students take the notes seriously, because they know they're going to want to reference them during the quiz. They work furiously during that initial practice time, and even my withdrawn/shy kiddos will reach out to their group or to me to ask questions to iron out any issues during that time. 

After they get their score, they resume work on the homework assignment. I typically reserve around 20 minutes for the DQ, which means the early finishers have around 15 minutes to work in addition to the 15 they already spent. As much as they hate getting 4s, they get so competitive about the 5s and 6s. We had to start a class vs. class competition - and I think adding an extra question for my regular class puts them on a level playing field. 

Class DQ Board: 1st Regular, 2nd & 4th Honors
I go back once everyone's finished and look through work. We clarify common issues, and I give cards back so students can post them on the bragging wall (shown below), or look over their mistakes. 


Let's talk about some details on logistics:

Grading: I grade these as a single quiz grade per unit. I drop the lowest one from the unit, then average the rest. The percentage for the average out of 5 is their grade. (For the regular class, this means that they could get a quiz score over a 100 for their 6s. I haven't had an average over 102 yet this year, so I'm not concerned about giving them a few extra points for a 6. I make sure that the questions are difficult enough so that 5s and 6s aren't guaranteed.) These have completely replaced normal quizzes for me, and I'm ok with that even though they're all open note quizzes.

Supplies: I have students bring in index cards to turn in at the beginning of the year. These are in the supply bins for their groups, and most of the time we use them to complete DQs. Occasionally, they prefer using a piece of notebook paper instead, especially for problems that take up a bunch of space. 

Student Data Tracking: Students keep up with their own scores in 2 places. 
They record the score first on a page I created to go beside their Unit TOC page (from Math=Love). 
This score goes right beside their homework assignment page number and homework grade, so I can quickly check their scores as I grade homework. This means I know whether to give a 50% or a 100% for a page that has every other problem completed. They get a stamp on this page and on their punch pass for each 100%. (My blog post on punch passes is here.)


The second place they record these is at the beginning of their Reference & Warmup notebook (post on my new notebook setup is here). They record a daily I Can sentence from the board, with the corresponding page number, their DQ score that matches, and fill in a bar graph beside it. I encourage them to use this right before their test to reflect on what to spend the most time studying.

My regular students have 6 boxes, since they can score up to a 6.
 
My honors students have only 5 boxes.
As you can see, some students are a bit more colorful with their records, and there are days we run out of time for a DQ.
I have also done "Daily Double Quizzes" where we do a makeup DQ from the day before along with that day's regular DQ.
Also - note the frowny faces. They HATE getting 4s. 

I post the entire week's I Can Statements at once on the front whiteboard.

I'm painfully aware that this system is missing a couple of things: a method for reassessment, make-up DQs for absent kids, and a way to tie this info with their tests. However, it's also been the easiest transition to something close to SBG that I've ever implemented. I've been able to save time grading too, which is always great. 

Enjoy your weekend!


Thursday, July 25, 2013

Almost SBG

Once I started tracking data for my students based on their mastery of math facts, I knew I had to extend the system to include my standards. I love how I can look at my tracking sheet, and instantly know where a student is at. It makes forming groups easy, designing review or remediation lessons faster, and I have a better grip on my own strengths and weaknesses as well. Rather than go through my system bit by bit, I'm going to approach this as a tutorial of how to set up your own. Seeing how to create and then use this system will be clearer than any general explanation I could give. So here we go - how to set up a standards based grading system within your non-SBG classroom. 

1. Decide how to deal with the grades. 
The whole idea of SBG is that a student can try to improve their grade by reassessing a specific topic, rather than a comprehensive assessment. They can target a specific area of weakness to work toward mastery. Most SBG systems grade on a 0-4 scale, with 4 being complete mastery. I use a 0-4 point scale, but I've never actually given a 0 (they always at least attempt every question since they pick the topic to answer), so it's really a 1-4 system. Since you will have students on different topics at different times, many of the topics will be 0's until that student attempts that topic. I don't give a passing grade until they make a 3 (I count a 3 as a 70, not 75, only to encourage kids to make it to a 4). Traditional SBG systems use this 0-4 system as their only (or primary) source of grades. However, I count each grouping of topics (each color group) as a quiz grade. Students receive an "exempt" marking until their first attempt. 

2. List out your topics for mastery. 
First of all, this is NOT going to be an all-inclusive list. Using your pacing guide for the semester, pick the topics that you believe are most important for students to completely MASTER. I usually limit myself to 30 topics. This process takes a while, but it's worth the reflection. Once you have your topics, group them into 6 topic "groups." These will be your color groups. Then each topic gets a number, so you have Purple 1, Purple 2, and so on. I usually try to keep the group labels pretty vague. My Algebra 1 groups are simplifying and solving, working with functions, quadratics and factoring, non-linear functions, foundations of geometry, and linear functions. Each topic group gets a color, and each color has 5 subtopics. 


3. Design a way for your students to literally "pick up" their assessment. 
With students working on different levels, there's not an easy way to pass out assessments. I set up an area on my back wall with pockets for each level that contain the questions students will answer. Students walk back to the wall, choose their assessment, and write their work and answers on a separate sheet of paper so that the questions can be reused by another student. It's best to use the actual colors on the wall - so students can look for the red group, then find their number. 

4. Create the assessments. 
Kuta software is great for this step. For each topic, I made 12 questions and an answer key. I would put 4 random numbers from 1-12 on the board, and students would answer those 4 questions to earn their credit. I also printed the answer key on colored paper, so I could quickly find what level I was grading. They were required to show work and highlight their answers to make this process a little faster. Collecting these, I had the students sort them into color groups, so I could grade all the red levels at once, but I want to come up with a better system for that this year. At this point, I'm thinking that I will use a labeled stacking tray for them to turn in their papers, rather than piles on my desk that I would immediately feel compelled to straighten and put away. 

5. Create a tracking system for the grades, and for student use. 
Students need a list of the topics, and a way to keep track of their grades. This can be as basic as a list in their notebook with dates and few columns for their attempts. If you are going to want all students to go through the same progression, make sure your list reflects that progression. I allowed my students to complete topics in any order, but often made suggestions of where to go next on an individual basis. (I should clarify - they could go in any order AFTER completing the entire first group, which was simplifying and solving). 


That's all, folks! At that point, you're ready to go. 

Wednesday, July 24, 2013

Data and differentiation - the pretty way.


I color code everything. And I do mean, EVERYTHING. 

Each prep (I have three this year) has a different color. That color follows that subject from interactive notebook covers, to warmup activities and agendas on the board, to inside my teacher binder. I love colors, but really, what I love is using them to organize. I like knowing that "blue is algebra 2." I think color coding makes everything more efficient. So it was only natural that I'd set up my data tracking systems based on color progressions. 

I track data in many ways in my classroom, but mostly for 2 things: basic number sense proficiency, and based on the standards for that subject. At any moment, I can tell you what a student's weaknesses are, as well as what standards in which they are proficient. I'm a math person, so it's all bar graphs and numbers to me. However, I've found that my students also benefit from being aware of what "topic" they're working on, and while it's not full on SBG (standards based grading), it's close enough for my purposes. 

Let's start with the easier set of data: basic arithmetic understanding and memorization. 
Students in my class are required to memorize their basic math facts. I require a certain number under a time limit, and then they move to integer operations under a similar but slightly longer time limit. I've sorted these into 10 categories, each with a different color: positive (whole) numbers (add, subtract, multiply, divide, and change a fraction to lowest terms), and integers (add, subtract, multiply, divide, and mixed). Students keep a tracking sheet in their notebooks so they know how many attempts they've made at each color, and get stamps/stickers once they reach my requirement (I timed myself for each level then cut the number in half). Here's the chart they use:
(The codes indicate the type of problem. W=whole numbers, Z=integers. The number indicates how high the facts go, so Wx10 is whole number multiplication facts up to 10. In the future, I'm sticking with the colors and ignoring the letter codes.) Here's that file. (The new, prettier version)

Logistically, this is usually done right after the warmup. I have a class set of sleeve protectors. Each sleeve protector contains one of each color. If a student is working on addition facts with integers, they know to pull out the orange piece of paper and place it on the top of the stack inside the sleeve protector.  

Each student uses a dry erase marker to fill in their answers, and get 1 minute to do as many as they can. I use a timer on the smart board so they can all see the timer, and hear when time is up. I grade these while they work on classwork, since a class set only takes me about 3-4 minutes. I keep an answer key in a binder to make grading faster. 

For math facts, I record their scores, as well as number of attempts and which levels they've finished. I grade all the "reds" at once, and know if anyone makes over a 30, they've passed the level. Otherwise, I just mark that they completed another attempt. Students also record the actual numbers, so they can see progress more easily. 

Here's what my sheets look like. 
1. List of attempts and scores. A highlighted number shows a student passed the level.  
(For those of you that are OCD like me and wondering about the green vs. yellow - I had 2 levels of achievement for these - yellow was basic proficiency, green was for getting the entire page done in a minute without mistakes. I awarded tickets to students that got the perfect scores.)

2. Class proficiency graph - each time a student passes a level, I filled in the box under that level beside their name. 

Since it's getting late, I'll go into the standards-based levels tomorrow. It's based off of this system, but  has to be more detailed since it includes around 3 times as many levels. Here's the file for the grade sheet. (I use this for everything.)


Update: Here are the 2013 pics of the new form - more color coding than before! Here, I tracked their progress, and circled the number when they reached proficiency. This was much faster (and neater) than highlighting. I still keep the bar graph chart, since it's nice to see at a glance where most kids are.


I use minute drill worksheets off of this site, printed out as a class set on whatever color matches that level.